I LOVE sushi. This week, my husband made sushi 3 times, and I sort of want it for dinner again tonight. For our 2nd anniversary, we didn't go out to dinner, or get each other presents, he made me sushi. That is how much I LOVE sushi.
When I tell people that I LOVE sushi, they often look at me funny, because I'm vegan, and they wonder why I eat fish, but don't put cream cheese on my bagel. Well folks, I do not put cream cheese on my bagel, nor do I eat fish. I LOVE vegan sushi! And I've decided to share this with you all. My cousin recently asked me for a recipe for vegan sushi because she's pregnant and can't have regular sushi so I'm passing it along to anyone who feels compelled to read my blog. Enjoy!
VEGAN SUSHI
Items needed:
Sushi rice
multi-grain rice mixture (optional)
delicious vegetables*
tempe or tofu (cook this)
nori aka roasted seaweed**
Rice vinegar
soy sauce
wasabi** if you like it, we use powdered
cookie sheet
sushi roller**
bowl of cold water
super sharp knife
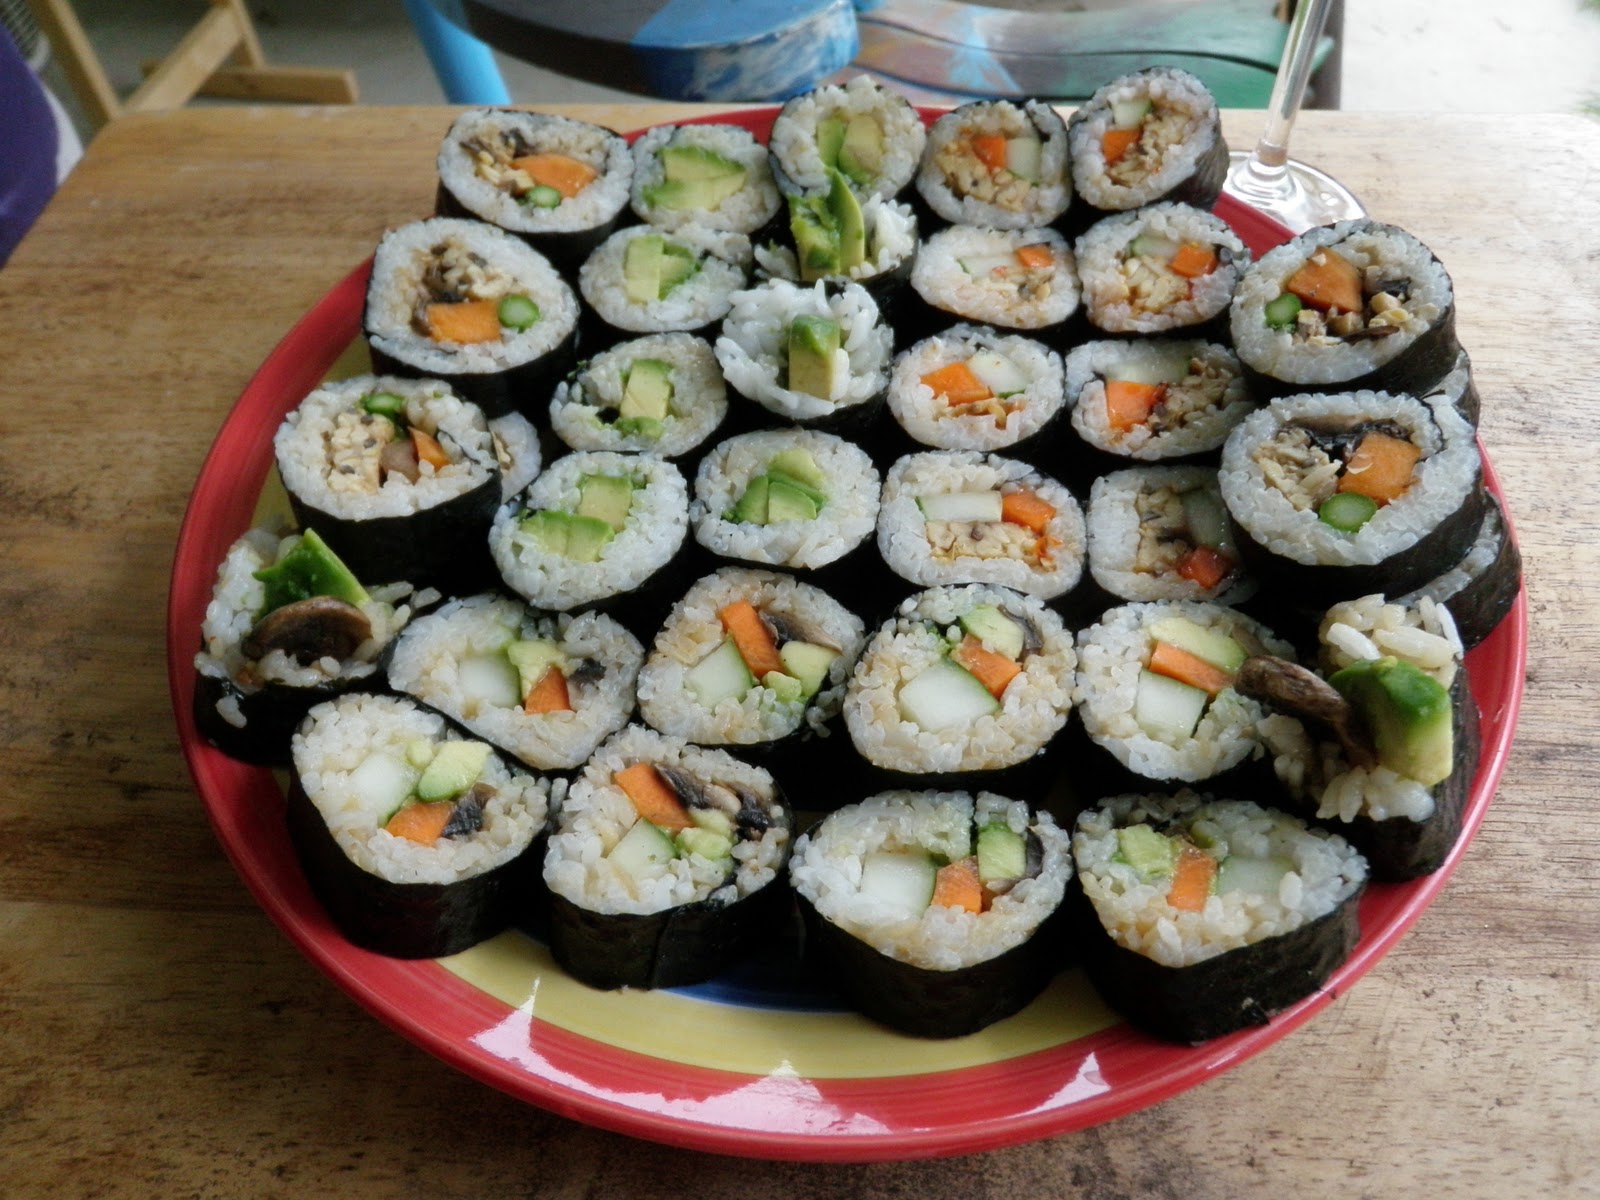
*I recommend avocado, cucumber, carrot, sprouts, portabello mushrooms and sweet potato
**available at most health food stores, or at cute chinese grocery stores where you will likely be the only non-asian person in the store, but they will likely still all speak english
Step 1. cook sushi rice according to package directions (or put mostly sushi rice and a bit of multi-grain rice mixture in a rice cooker and push the little button down, I can't make rice any other way)
Step 2. Cut veggies into strips for sushi and cook them, either water fry or bake(we cut the sweet potatoes into the small strips and then bake them on a cookie sheet sprayed with oil for 10-15 min's at 400) *note: carrots, cucumber, sprouts and avocado do not need to be cooked, unless you really want to.
Step 3. boil equal parts soy sauce and rice vinegar in a small pot *Note: it will smell like old gym socks, but it tastes good
Step 4. When the rice is done, spread it out on a cookie tray and spoon the soy sauce/rice vinegar mixture over it to wet most of it (should not be soaking in the mixture). Let cool until you can handle it with out burning off your fingerprints.
Step 5. place the nori shinny side down on your sushi roller and then wet your hands and take a hand full of rice and moosh it down on most of the nori leaving about an inch and a half at the top. *Note: wet hands more if the rice starts sticking to your fingers
Step 6. place some delicious veggies and/or tofu in the center of the rice going from one end to the other (so you can roll it up)
Step 7. lightly wet the one to one and a half inches of nori you left un-riced a the top of your nori.
Step 8. proceed to use the sushi roller to roll your sushi roll, the water you used to wet the nori will help it to stick together when you finally roll it completely. *Note: this is a fine art. My husband usually does it, and is quite good, but it takes practice, your first rolls may be sloppy, they will get better
Step 9. Repeat steps 5 through 8 until you have many rolls of deliciousness and no rice left. Then you will cut them using your super sharp knife. Dip the knife in water before cutting, and you may have to dip it more than once when cutting a single roll.
Step 10. Enjoy your delicious sushi, victory is yours!
Overall Note: These will make the kind of sushi rolls with the rice on the inside, and the seaweed on the outside. If you want to make the rice on the outside kind, you'll need saran wrap to wrap your sushi roller in, and it's a lot finer art. Look to try this once you have mastered the art of the rice on the inside type.